
The Local’s Guide to the PEAK 2 PEAK
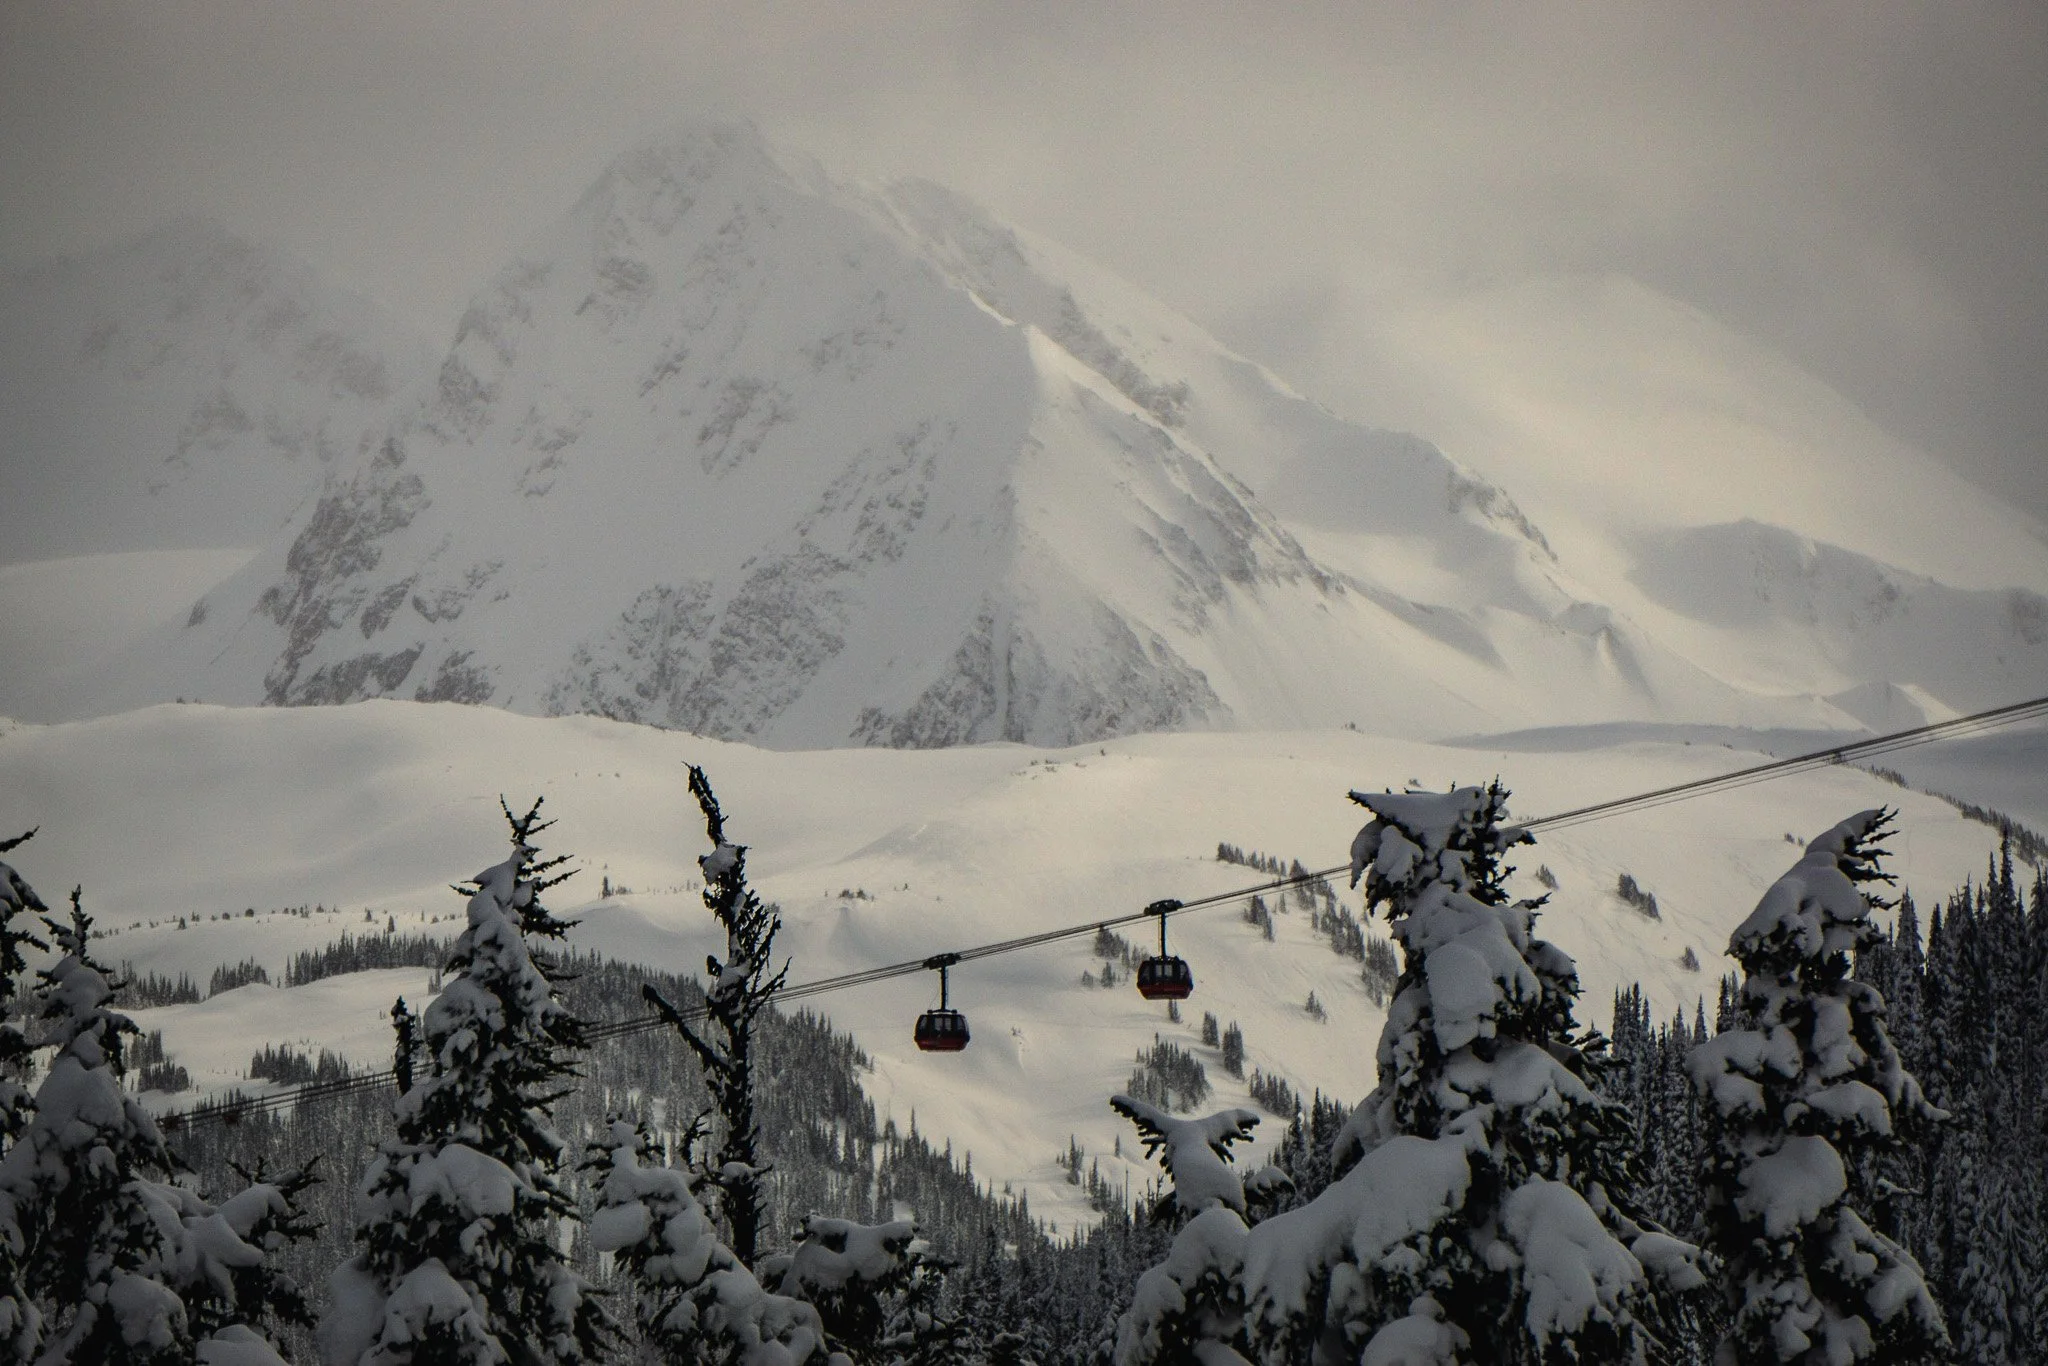
The Peak 2 Peak Gondola with Fissile peak in the background
If you’re standing in the Village looking up, you might see a tiny silver thread between the two mountains. That’s the PEAK 2 PEAK Gondola. And honestly? It’s as cool as it seems... It’s as close to being in a helicopter as you can get without actually getting in one.
Many locals use it as a legitimate transportation tool. Have a friend on Blackcomb looking to meet up, but you’re on Whistler? Hop on the Peak 2 Peak and meet them in a few short minutes. It’s not just a tourist sightseeing tool… it has fundamentally changed the ski experience at Whistler Blackcomb.
For us locals, the novelty of most lifts (except for Peak Chair) wears off after season one. But the PEAK 2 PEAK is different. It’s an engineering marvel that holds world records for the longest unsupported span (3.024 km) and the highest lift of its kind (436 meters above the valley floor).
Whether you’re a non-skier looking for the best view in British Columbia or a skier resting your legs between laps, here is your guide to doing the Peak 2 Peak right and avoiding the rookie mistakes.
The "Glass Bottom" Trap
Let’s get the biggest "tourist trap" myth out of the way immediately: Do not wait for the glass-bottom cabin.
I know the marketing photos look cool, but here is the reality:
The Wait: The silver "glass-bottom" cabins only arrive every 15 minutes. On a busy Saturday, you could be standing in a specific line for 30 to 45 minutes just to board one.
The Experience: The "glass bottom" is just a small railed-off square in the center of the floor. Unless you are standing directly over it (which you can’t), you won't see much.
The Better Move: The red cabins arrive constantly. You can usually walk right on. The views out the windows of the glaciers, the peaks, and the valley are vastly superior to the view of the treetops below which you can still get if you just look…down.
Local Tip: Skip the line, hop on a red cabin, and spend that extra hour enjoying a drink at the top instead.
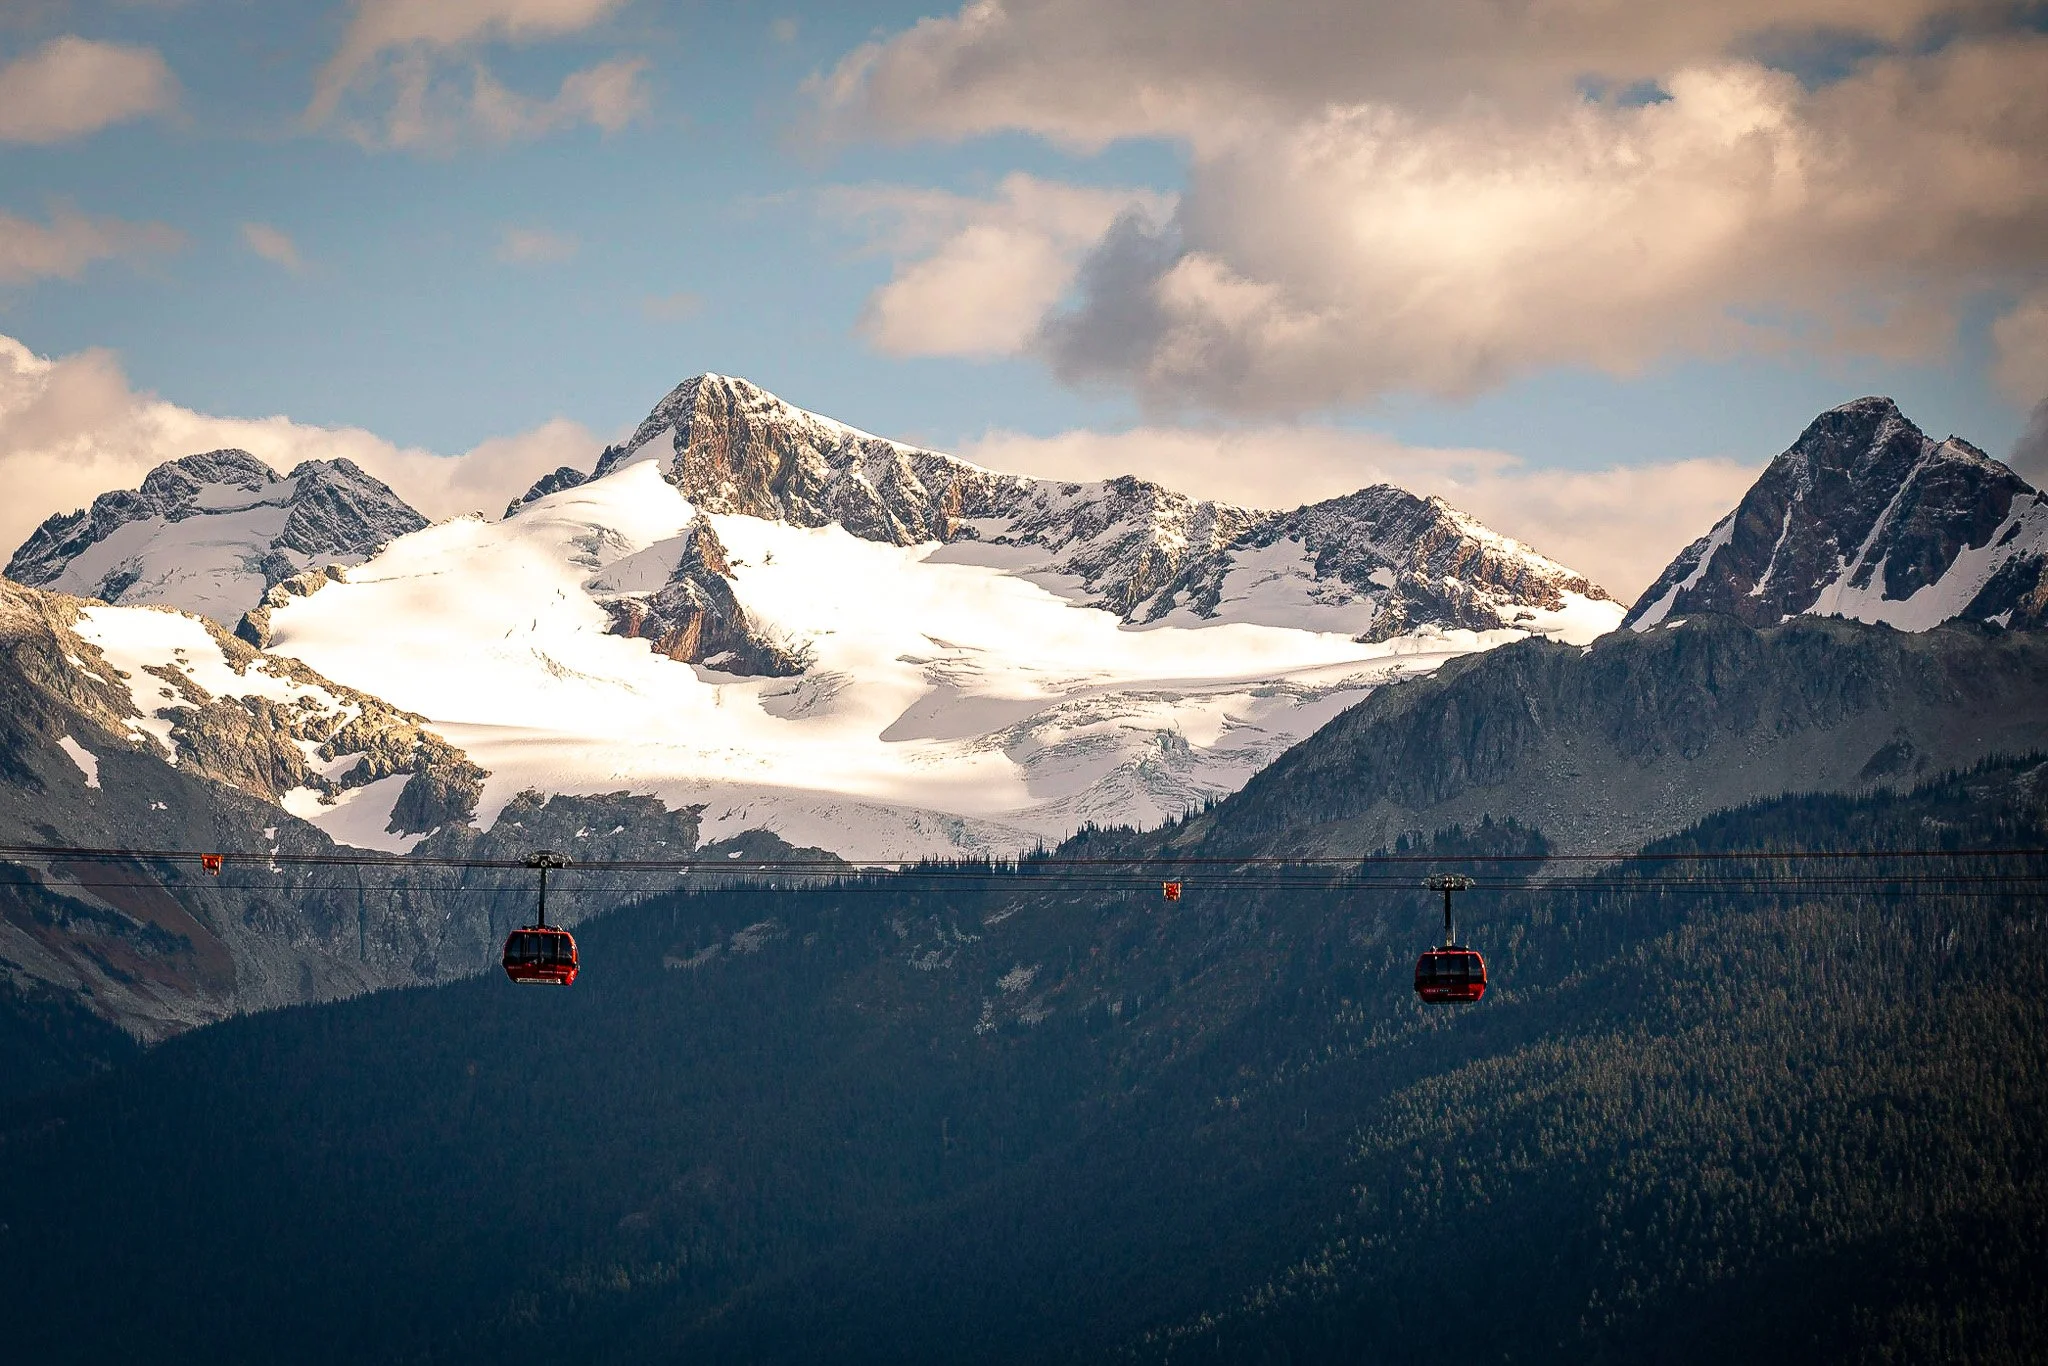
It really is a very impressive span
Timing is Everything (Seriously)
The PEAK 2 PEAK isn't like the village gondolas; it has its own schedule and mood swings.
Check the Weather: If the alpine is "socked in" (local speak for total cloud cover), you’ll be staring at grey fog for 11 minutes. Check the mountain cams before you buy your ticket. You want a "bluebird" day or at least high visibility.
Watch the Clock: The PEAK 2 PEAK often closes earlier than the lower lifts, usually around 3:00 PM or 4:00 PM. Don't get stranded on the wrong mountain!
The Shoulder Season Warning: The gondola closes for maintenance during the "dead seasons" (usually mid-April to mid-May and mid-October to late November). Always check the specific dates if you are visiting in the spring or fall.
The Perfect Sightseeing Loop
If you aren't skiing, you are on the "360 Experience" ticket. Don't just go up and down the same way. Do the loop:
Upload: Take the Blackcomb Gondola from the Upper Village. It’s newer, faster, breaks down less, and warmer than the Whistler Village Gondola.
Cross: Ride the PEAK 2 PEAK from Blackcomb over to Whistler.
Explore: On the Whistler side, head to the Roundhouse Lodge. Grab a drink at the Umbrella Bar (the views are insane) or get a quick hike in.
Download: Take the Whistler Village Gondola down to the main village. OR go back across the Peak 2 Peak and back down the Blackcomb Gondola.
Après: Once you land, you're perfectly positioned to hit the Whistler Après Ski scene. If you're feeling rowdy, the Longhorn is right there. If you want a calmer pint, head to the Dubh Linn Gate.
Plan Ahead or Pay More
I mention this a lot, but it applies here too. And it’s something that not a lot of locals think about, as we just use our season’s passes… Do not walk up to the ticket window on the day of your ride unless you like lighting money on fire.
Booking Ahead: Buying your sightseeing ticket online at least 3+ days in advance can save you significant cash compared to the window rate.
Window Rate Reality: If you wait until you arrive, you could be paying upwards of $157 CAD just for the day. A little planning buys you a very nice meal at one of our favorite Cheap Eats Whistler spots with the savings.
What to Pack: The Alpine Checklist
Even if it’s t-shirt weather in the village, the alpine is a different beast. It is significantly cooler at 1,850 meters (6,000 ft).
For Winter Sightseeing:
Footwear: Waterproof boots with grip. Do not wear running shoes; the snow is slippery.
Outerwear: A proper winter parka or ski jacket.
Accessories: Toque (beanie), warm gloves, and sunglasses (snow glare is real).
For Summer Sightseeing:
Layers: A light windbreaker or fleece. The wind cuts across the valley, and it can be 10 degrees colder at the peak than in the valley.
Sun Protection: Sunscreen and sunglasses. The UV is stronger at elevation.
Shoes: Comfortable walking shoes or hiking boots if you plan to walk the trails.
One final local note: If you are afraid of heights, sit in the middle of the cabin on the benches. The span between the towers is dramatic, and when you look down, you are genuinely dangling over the abyss. It's a thrill, but it's not for the faint of heart!